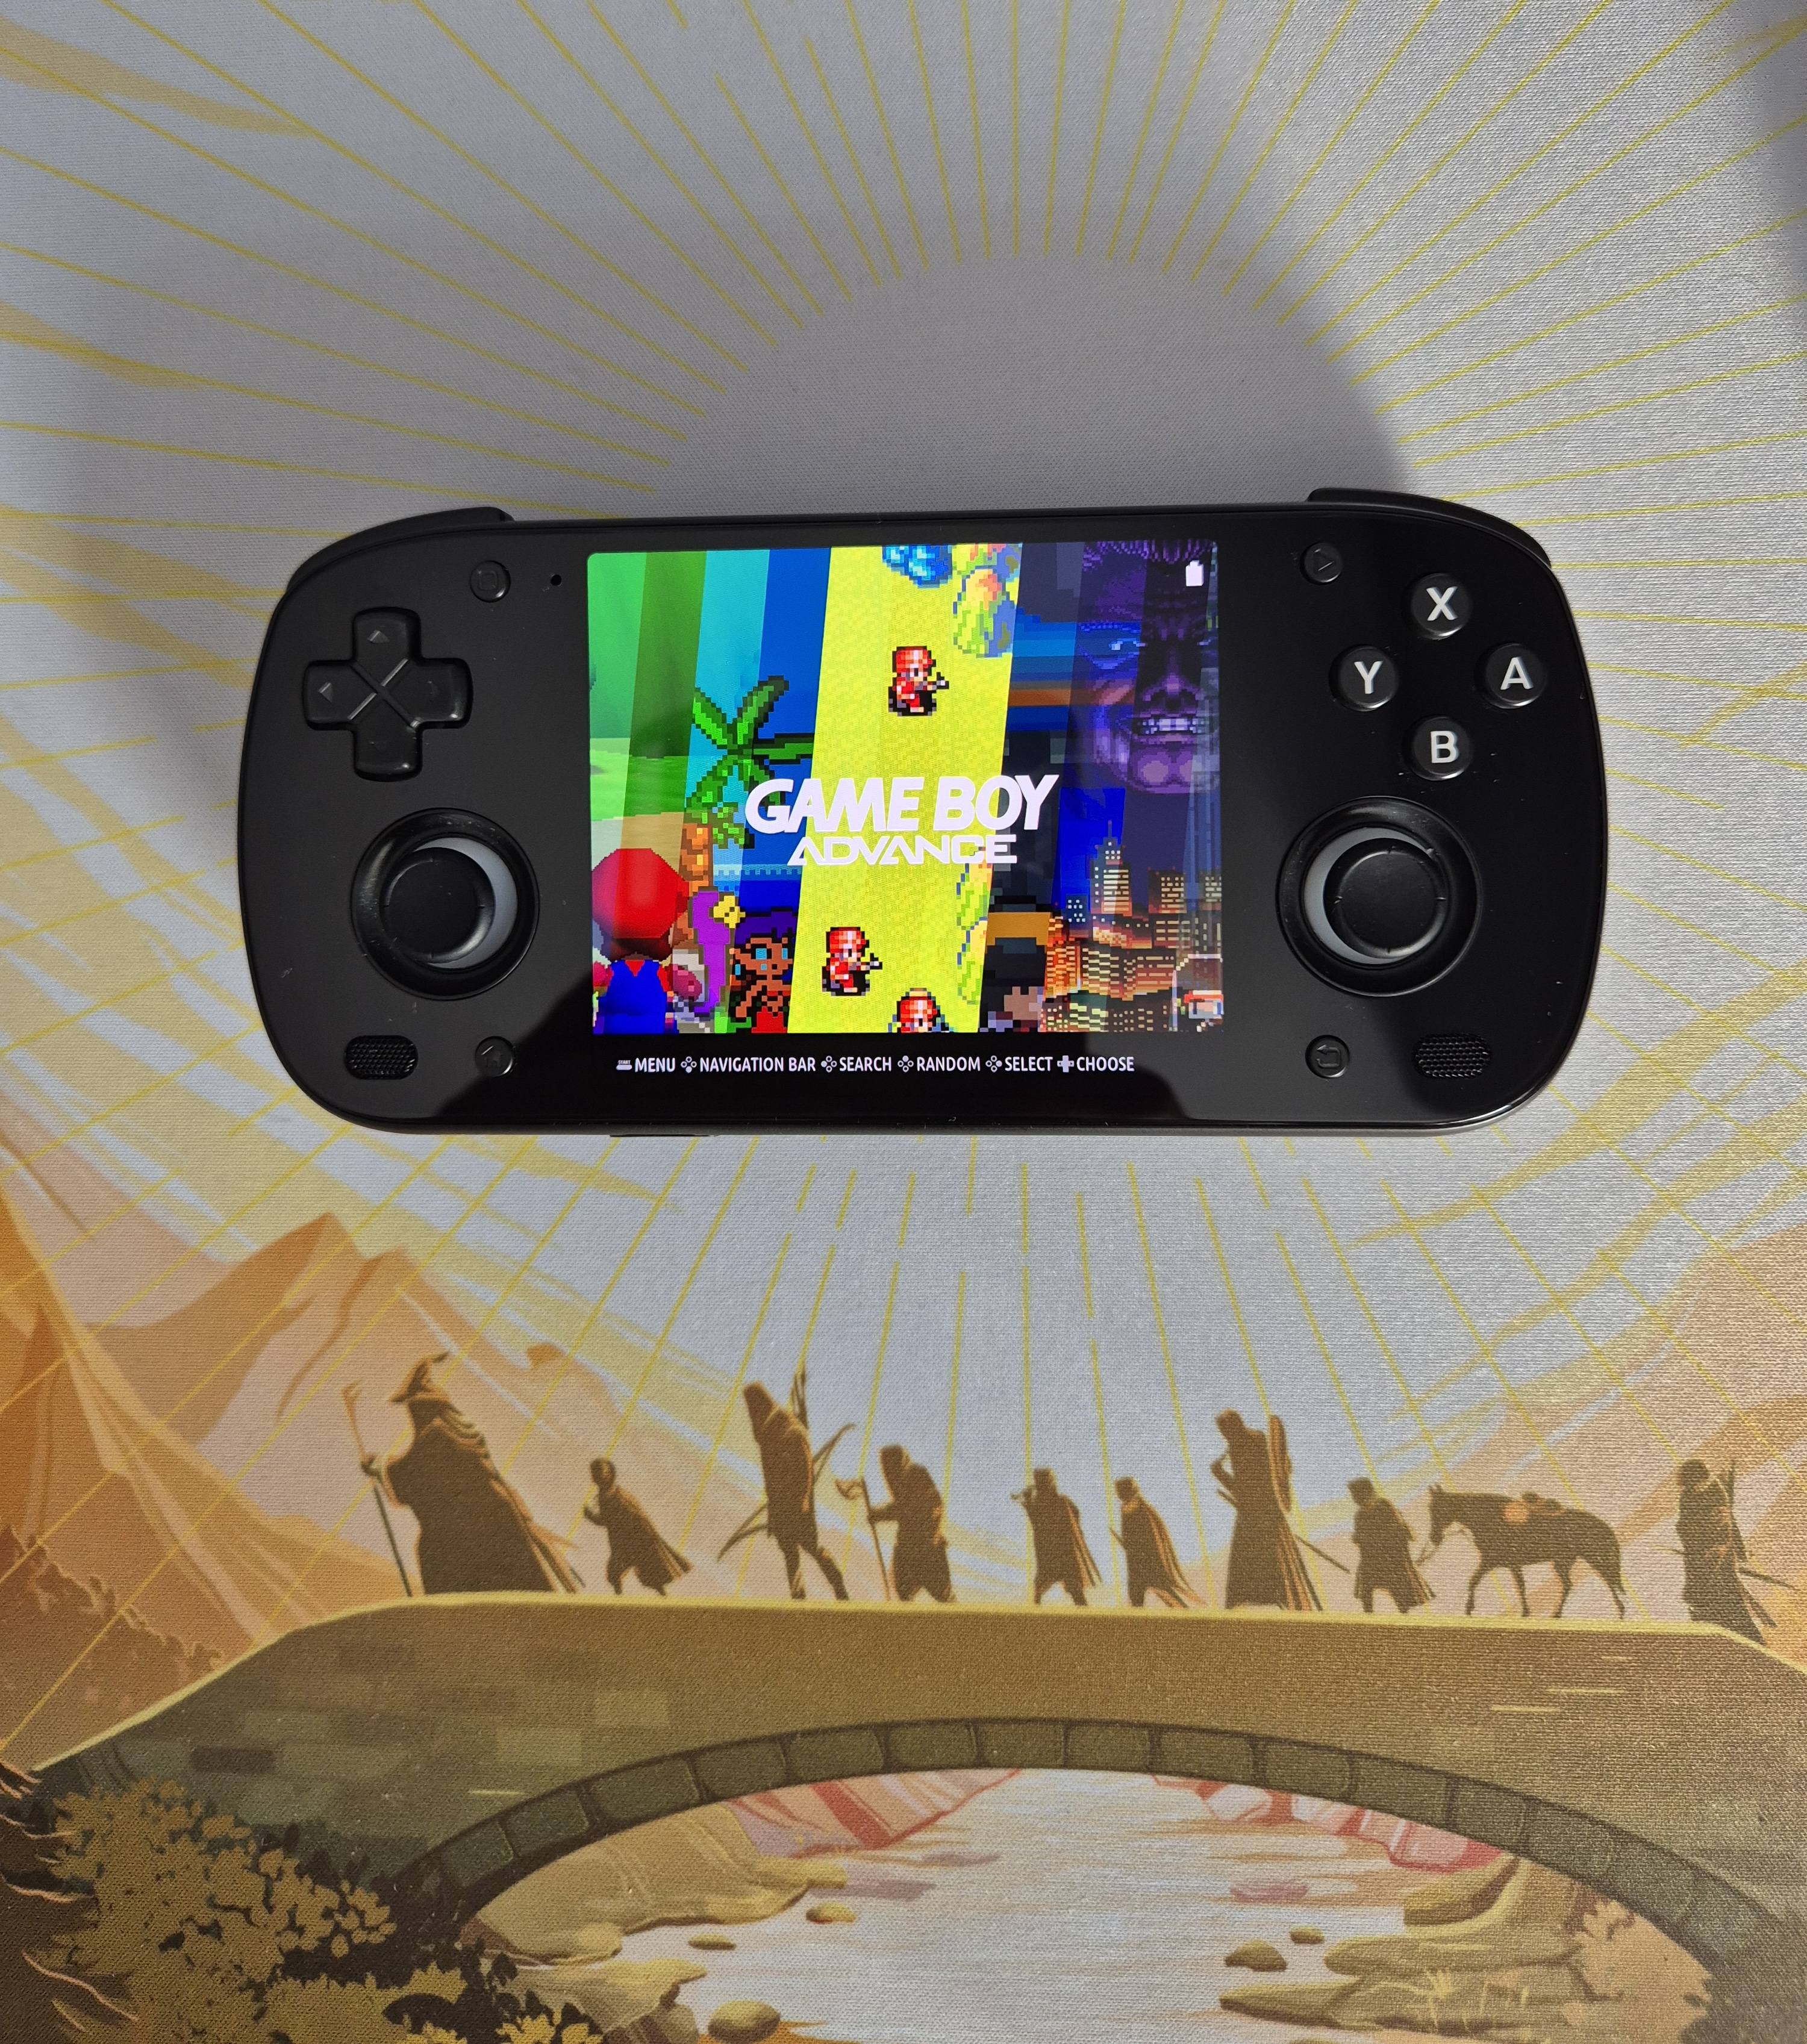
Running Knulli Linux on Retroid Pocket Mini v2
This post describes how to install and configure Knulli on a Retroid Pocket Mini v2.
The stock operating system of RP Mini v2 is Android, however I prefer running Linux-based firmware on my retro handhelds instead. Also latest Knulli Scarab release just happens to provide early support the RP Mini v2.
In order to install Knulli on the RP Mini v2 grab the firmware files from the Knulli Releases page on Github and extract the image file using 7zip as documented.
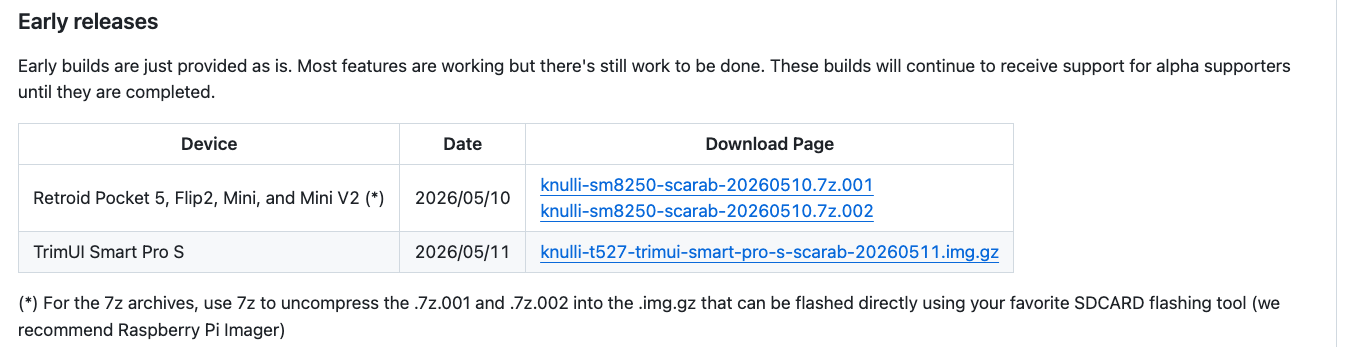
On macOS you can extract the firmware image using the 7zz command, provided by
the sevenzip homebrew package.
7zz x knulli-sm8250-scarab-20260510.7z.001
On Arch Linux systems you can extract the firmware image using the 7z command,
provided by the 7zip package.
7z x knulli-sm8250-scarab-20260510.7z.001
After extracting the archives you should see the
knulli-sm8250-scarab-20260510.img.gz file. Insert an SD card into your
computer and flash the firmware image using Raspberry Pi Imager, or any other
tool you prefer. Once the flashing is done, eject the SD card from your computer
and insert it into your RP Mini v2.
Since the RP Mini v2 is running Android in order to boot into Knulli we need to
enter the U-Boot selection menu during startup by pressing and holding the
Volume Up button.. Once the device is in the U-Boot selection menu use the
Volume Up and Volume Down buttons to switch between the different entries,
and the Power On button as an Enter.
While in the U-Boot selection menu you may see the following scrambled text on the display of your RP Mini v2, but don’t worry about it.
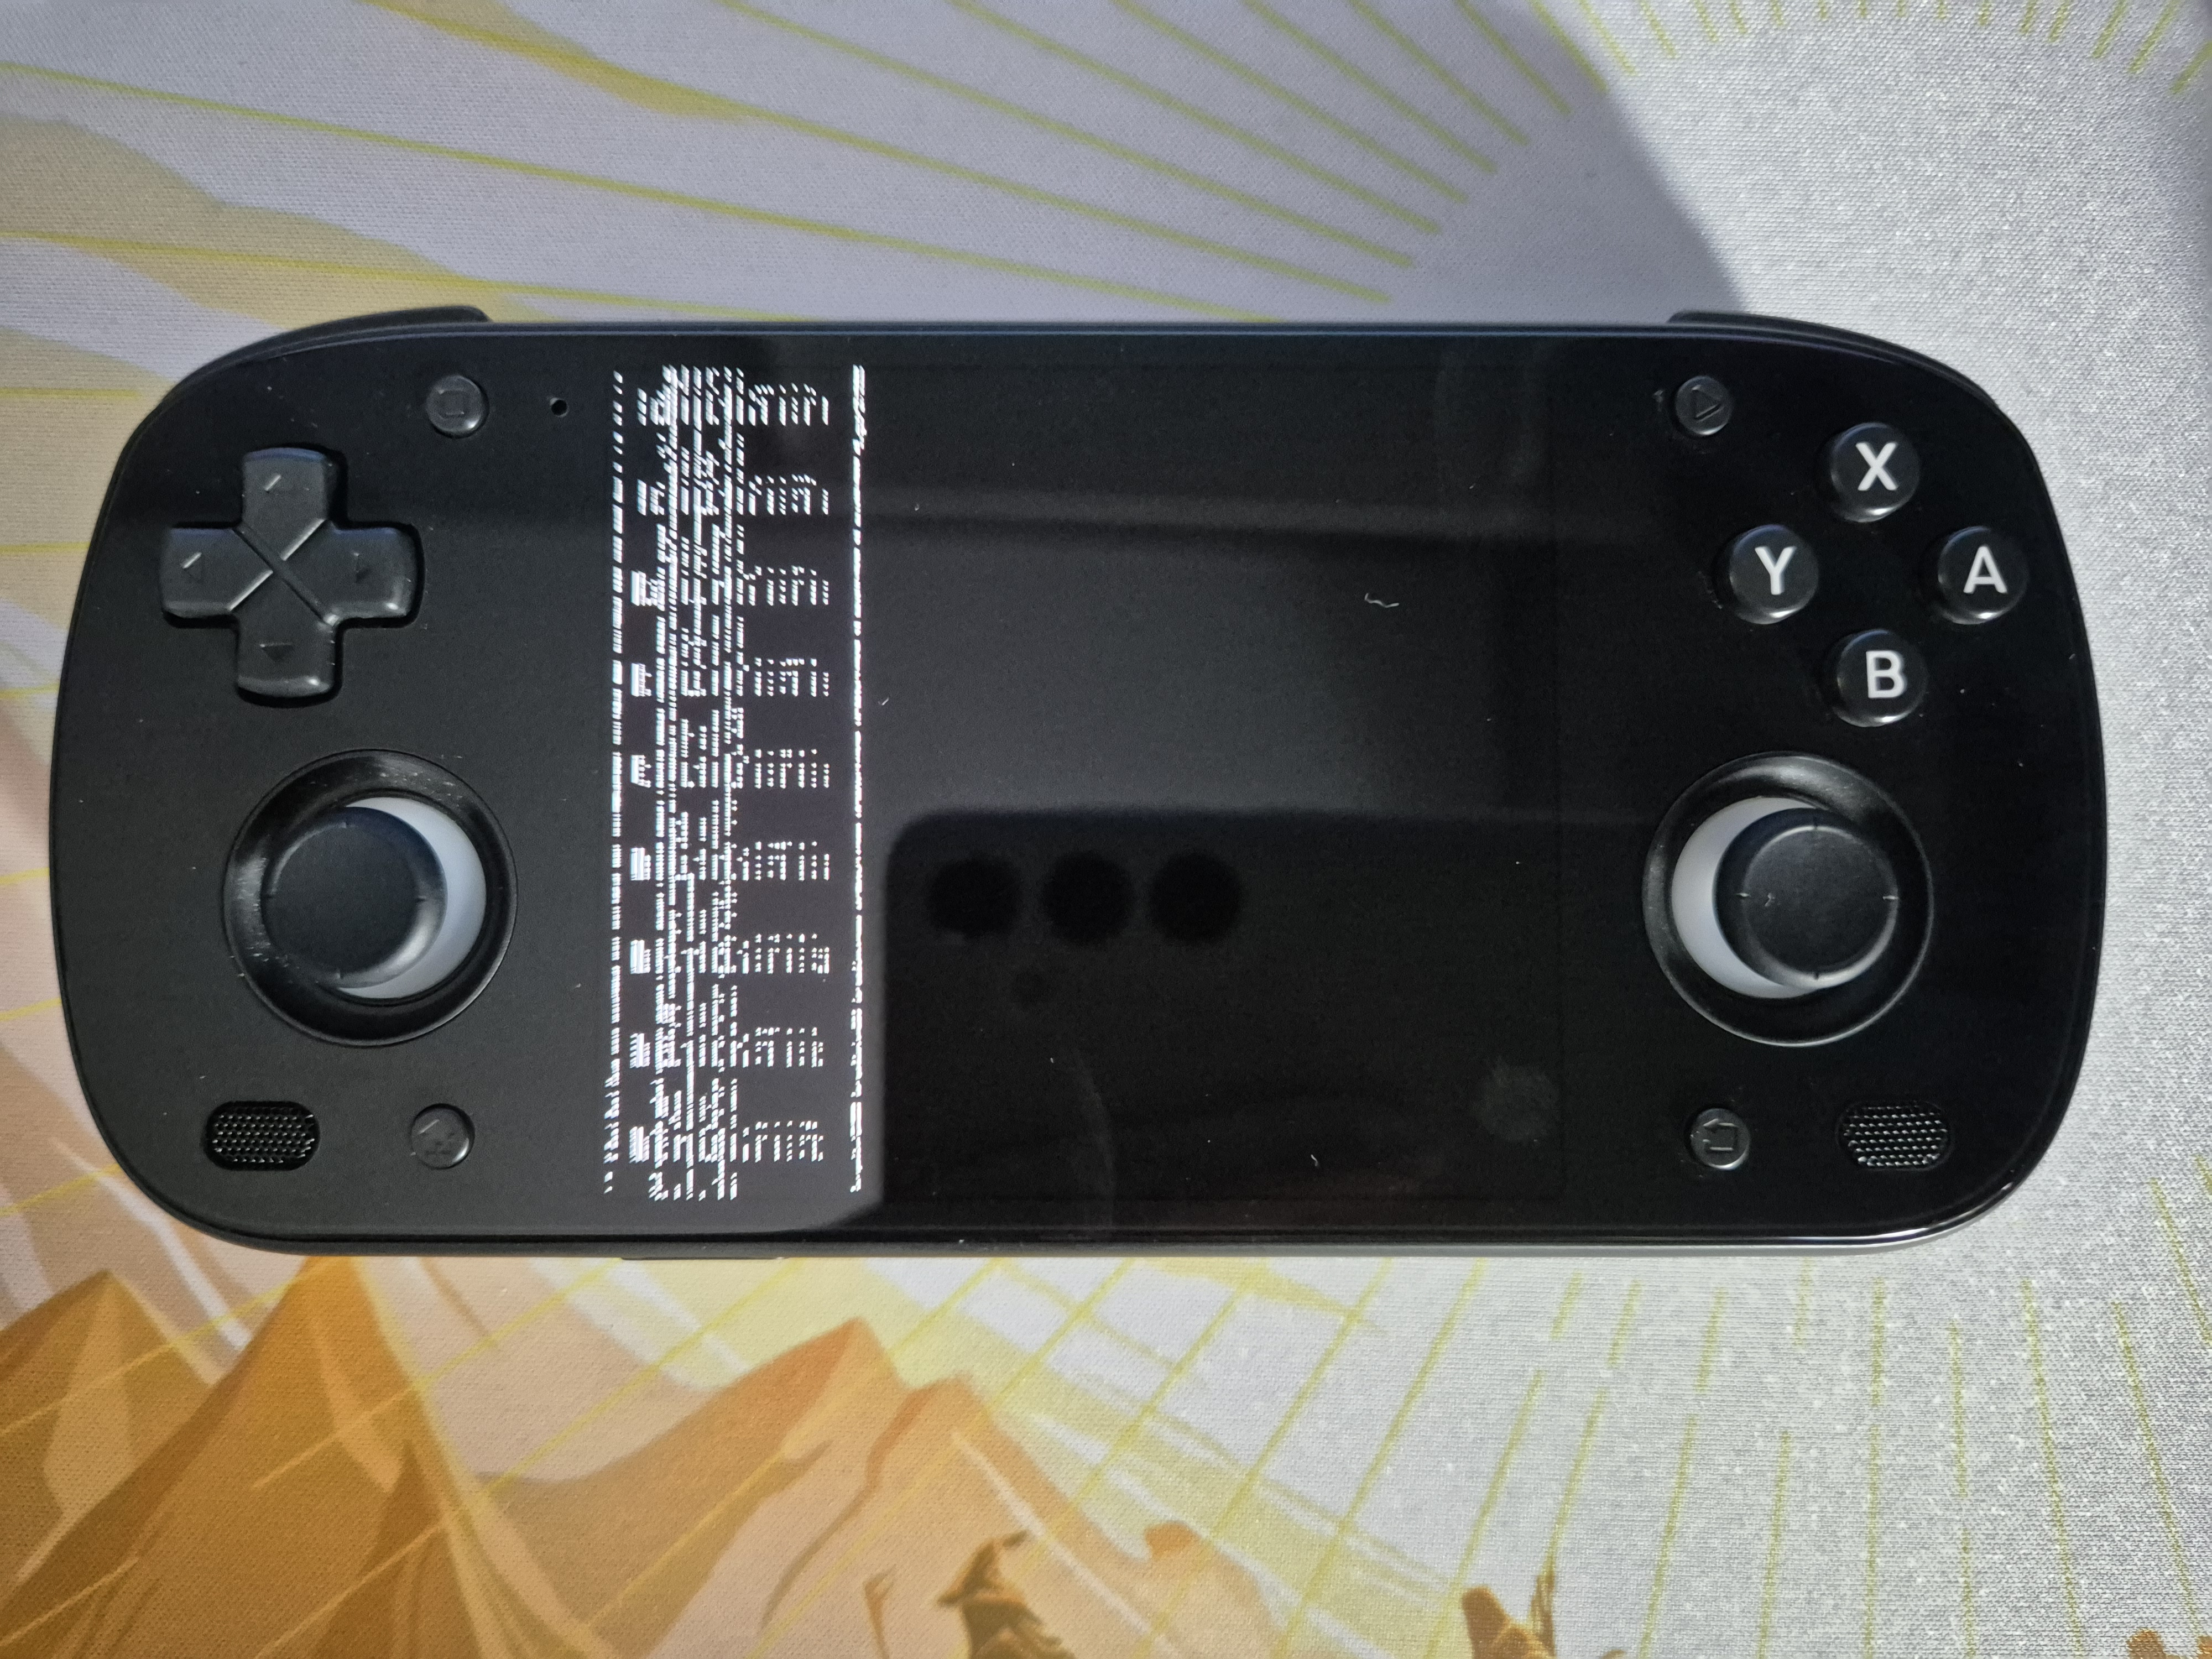
If you see a similar screen, simply navigate to the Knulli entry blindly by
pressing the Volume Down button once, then press the Power On button once,
at which point you should some additional scrambled text, and then press the
Power On button again. At this point your RP Mini v2 should already be booting
into Knulli, so give it some time to finish booting, which may take a minute
during first-time boot.
If shortly after booting Knulli you see a blank display, but you can hear the
Knulli theme music that means that Knulli successfully boots, but we need to fix
the display issue. At that point simply power off your device by holding the
Power On button until the device turns off, and then take out the SD card from
your RP Mini v2 and insert it into your computer again.
Once you insert the SD card into your computer we need to mount the
first volume, which is labeled KNULLI. Then navigate to the directory
where you’ve mounted the KNULLI volume and enter in the boot
directory.
On a macOS system our SD card in the following output is presented by the
/dev/disk4 device.
$ diskutil list
...

/dev/disk4 (external, physical):
   #:                       TYPE NAME                    SIZE       IDENTIFIER
   0:     FDisk_partition_scheme                        *127.9 GB   disk4
   1:             Windows_FAT_32 KNULLI                  6.4 GB     disk4s1
   2:                      Linux                         536.9 MB   disk4s2
                    (free space)                         120.9 GB   -
The volume that we need to mount from the example output above is
/dev/disk4s1.
diskutil mount /dev/disk4s1
On a Linux system we can identify the SD card using the lsblk(8) command.
$ lsblk --fs
NAME                     FSTYPE      FSVER    LABEL  UUID                                   FSAVAIL FSUSE% MOUNTPOINTS
sda
├─sda1                   vfat        FAT32    KNULLI E17E-1A41
└─sda2                   ext4        1.0      SHARE  c543fa93-b070-429d-bf65-dc9522525240

...
In the example output above we should mount the /dev/sda1 partition, e.g.
sudo mount /dev/sda1 /mnt/sd-card
Once you have the KNULLI volume mounted we should overwrite the Device
Tree Blob (DTB) file with the correct one for our Retroid Pocket Mini
v2. In order to do that navigate to the root directory of your
KNULLI volume, e.g.
cd /path/to/sd-card/mount
You should the following files in your boot directory of your KNULLI
volume.
$ tree boot
boot
├── firmware.sig
├── Image
├── initrd.lz4
├── knulli
├── knulli.board
├── sm8250-retroidpocket-flip2.dtb
├── sm8250-retroidpocket-rp5.dtb
├── sm8250-retroidpocket-rpmini.dtb
└── sm8250-retroidpocket-rpminiv2.dtb

1 directory, 9 files
Make a backup of sm8250-retroidpocket-rpmini.dtb and then overwrite it with
sm8250-retroidpocket-rpminiv2.dtb.
sudo cp boot/sm8250-retroidpocket-rpmini.dtb boot/sm8250-retroidpocket-rpmini.dtb.orig
sudo cp boot/sm8250-retroidpocket-rpminiv2.dtb boot/sm8250-retroidpocket-rpmini.dtb
The reason why we had to overwrite the Device Tree Blob (DTB) is because during
boot-time the system was not properly detected as a v2 version of the RP
Mini. This one will probably be fixed in a future release of Knulli.
Finally, unmount the KNULLI volume and eject the SD card from your
computer. If you are on macOS system
you can umount the volume by using the following command.
diskutil umount /dev/disk4s1
On Linux systems you can use the following command.
sudo umount /path/to/sd-card/mount
Insert the SD card again into your RP Mini v2 and enter the U-Boot selection
menu again by holding down the Volume Up button, then followed by a single
press of the Volume Down, Power On, and Power On again presses. This time
your RP Mini v2 display should properly start up.