
Building project's documentation with Jenkins and Doxygen
In a previous handbook about Jenkins we have shown you how to install and configure Jenkins and how to set up a Jenkins job for building a software project.
As mentioned in the Jenkins handbook we can use Jenkins for almost anything we can think of.
In this handbook we will see how we can use Jenkins for building a project’s documentation using Doxygen.
For the purposes of this example we will use the FreeBSD’s pkgng project which uses Doxygen as a documentation system.
Once we are ready with the project configuration and building we will make our Doxygen documentation available through Jenkins.
So lets start!
Requirements
- root access or sudo rights
- Jenkins CI instance
Tested And Verified
The setup explained in this handbook has been tested and verified on:
- FreeBSD 9.0 system
- jenkins-1.472
- doxygen-1.8.0_1
Building project’s documentation using Doxygen
Building the Doxygen documentation of a project using Jenkins is quite easy as Jenkins provides ready to use plugins for this simple task.
In this handbook we will see how we can build the Doxygen documentation using Jenkins in two different ways - the first one uses the Jenkins Doxygen Plugin and the second one uses the Jenkins HTML Publisher Plugin.
Which one you would choose depends really on your preference.
My personal preference is using the Jenkins HTML Publisher Plugin as it allows me to give a name of the generated documentation, but your choice might be different.
Building the Doxygen documentation using the Jenkins Doxygen Plugin
As mentioned above we will first show you how to configure a Jenkins job for generating a project’s documentation using the Jenkins Doxygen Plugin.
First, lets install the required plugins. To install a plugin in
Jenkins navigate to Manage Jenkins -> Manage Plugins -> Available
and install the below listed plugins.
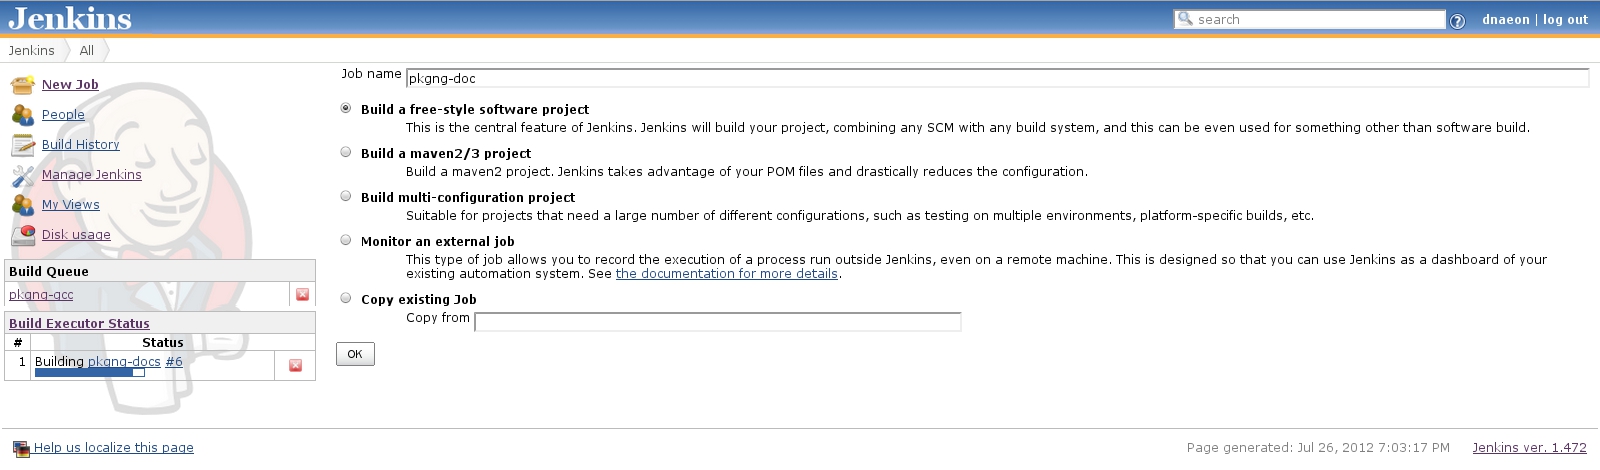
Once the plugin is installed we can create our Jenkins project, so
navigate to New Job and give the new job a meaningful name. In this
example we will call our Jenkins job pkgng-doc.
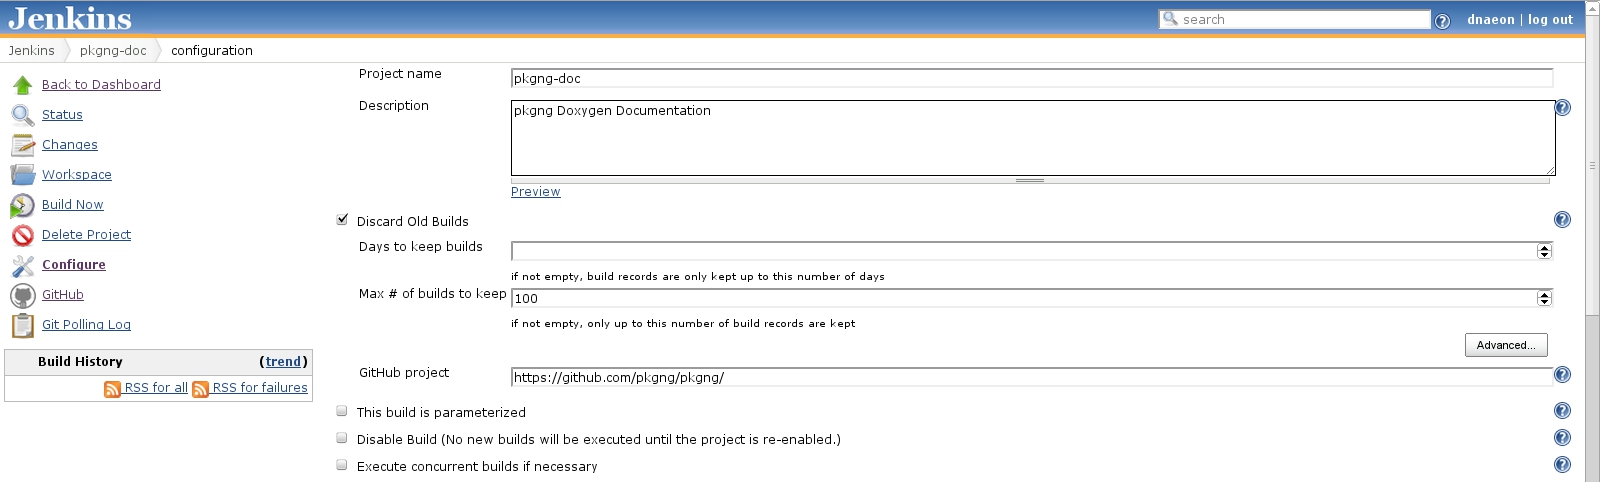
Once the new project is created we need to configure it - project description, SCM, number of builds to keep, etc.
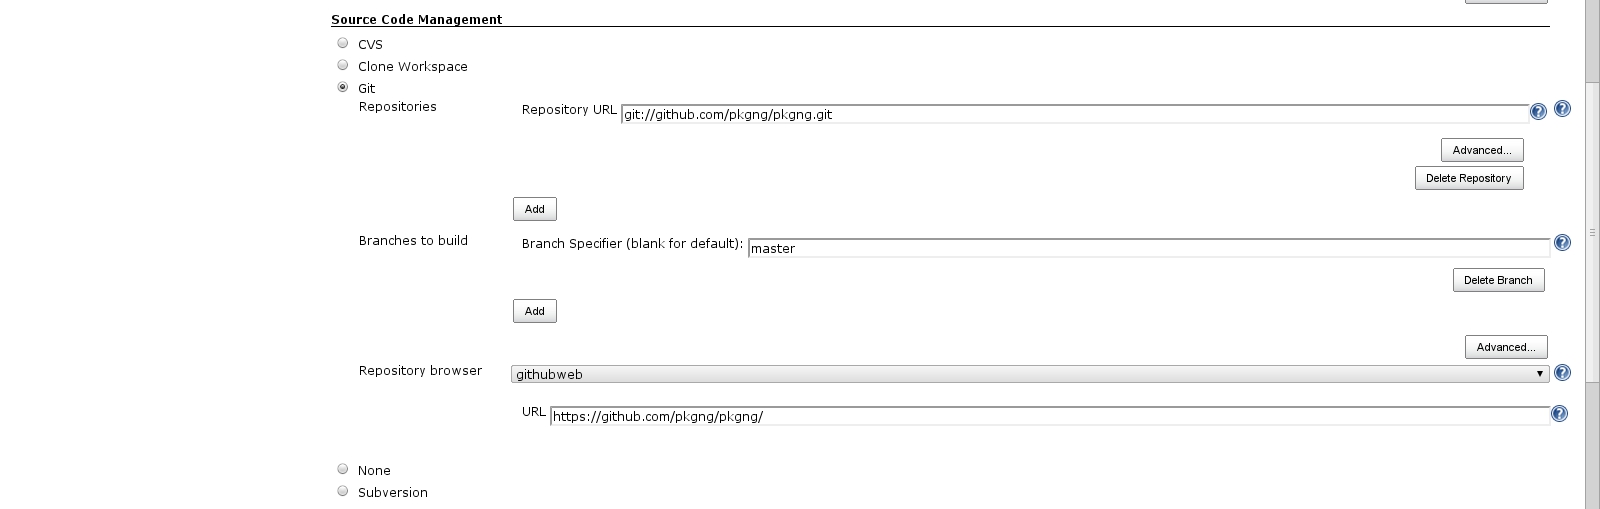
Then we configure the Source Code Management section of the project.
The next section we configure is the Build Triggers one.
This is where we configure when a project is being scheduled for a
build.
In the screenshot below we poll the remote Git repository every 30 minutes and if there is a new change we schedule a build for it.

Now lets configure the build itself. This is where we define how the Doxygen documentation is being generated.
To do that we configure the Build section of our project as
shown in the screenshot below.
In order to add the build step click on the Add build step button
from the Build section of the project and select Execute shell
option.

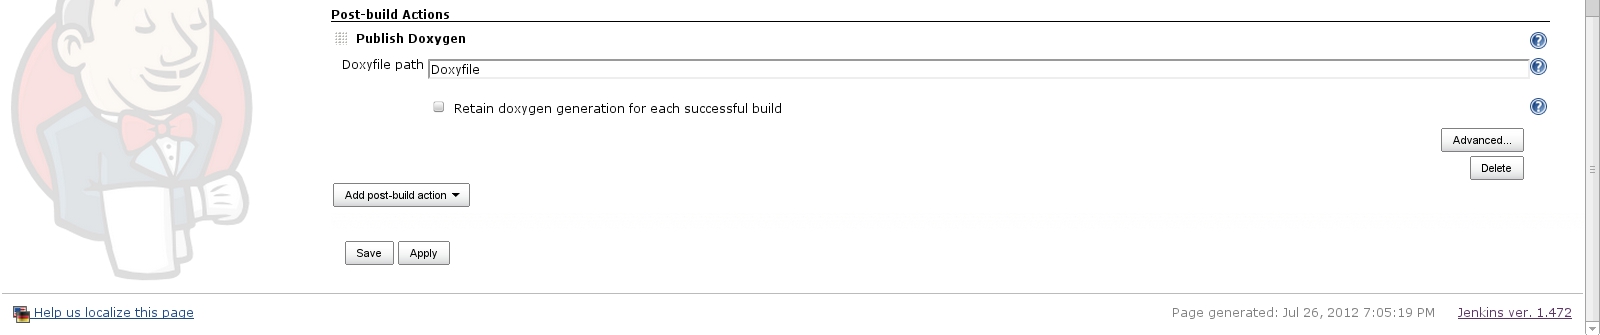
And the last thing we do is to publish our Doxygen documentation
which we configure in the Post-build Actions section of our
project.
To do that select the Publish Doxygen option from the
Post-build Actions section of the project and provide the
path to the Doxyfile of the project as shown in the screenshot below.
When ready click on Save button and we are done. Your new project
should be fully configured and now we can do a test build of it.
So click the Build Now button of the pkgng-doc project and monitor
the documentation being built.
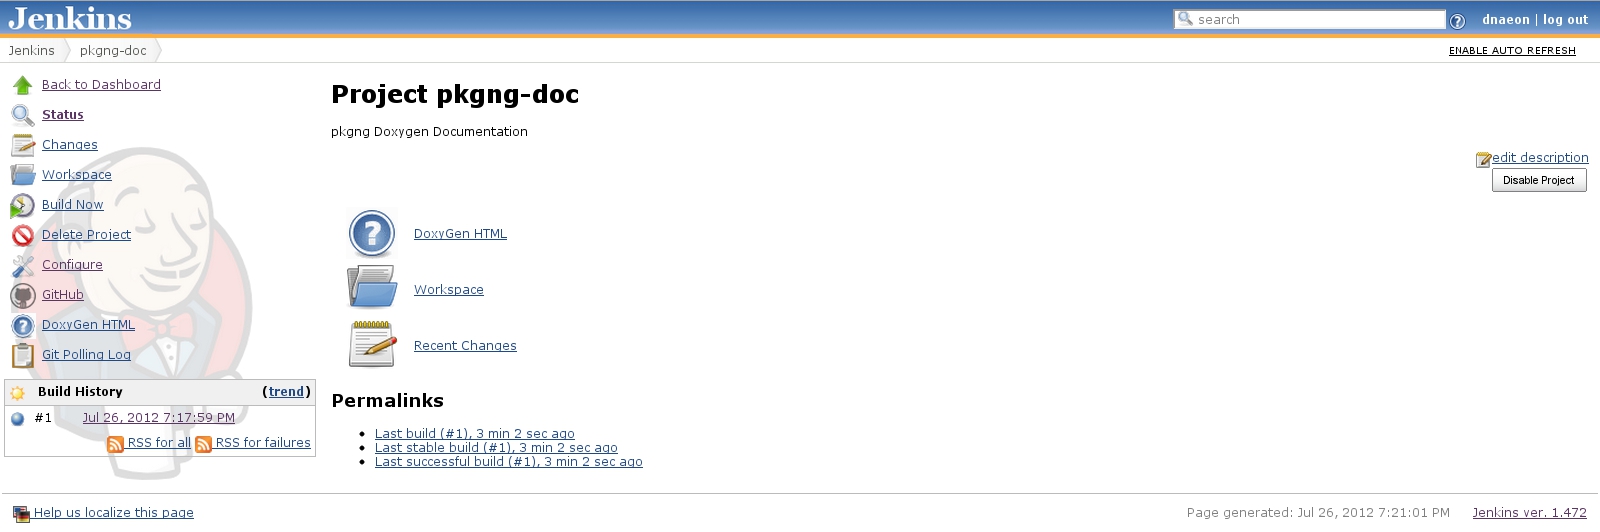
Once the project has been built you can access the Doxygen
documentation just by click on the DoxyGen HTML button as shown in the
screenshot below.
Building the Doxygen documentation using the Jenkins HTML Publisher Plugin
In this section of the handbook we will see another way of building Doxygen documentation using Jenkins, but this time using the Jenkins HTML Publisher Plugin.
Personally I prefer using the Jenkins HTML Publisher Plugin as it allows me to specify a user-defined title of the generated documentation which by now is not possible using the Jenkins Doxygen Plugin
First, lets install the required plugins. To install a plugin in
Jenkins navigate to Manage Jenkins -> Manage Plugins -> Available
and install the below listed plugins:
Once the plugin is installed we can create our Jenkins project,
so navigate to New Job and give the new job a meaningful name.
In this example we will call our Jenkins job pkgng-doc.
Everything we need to configure for this project is exactly the
same as described in the previous section of the handbook -
except for only one thing - configuration of the Post-build Actions
for the project.
So, please follow the instructions for configuring the project as
explained in the previous section, except for the Post-build Actions section.
Once you’ve configured the project up to the Post-build Actions
section proceed with the instructions below.
Now that you’ve got the project configured we have only one thing left to configure and that is to publish the Doxygen documentation and make it available through Jenkins.
To do that in the Post-build Actions section of your project click
on the Post-build actions button and select Publish HTML reports.
Then just fill in the fields - HTML directory to archive,
Index page[s], Report title and Keep past HTML reports.
The HTML directory to archive comes from the OUTPUT_DIRECTORY as
being defined in the Doxyfile.
The below screenshot shows how pkgng Doxygen documentation is being
created.

Once ready click on Save button and do a test build of the project.
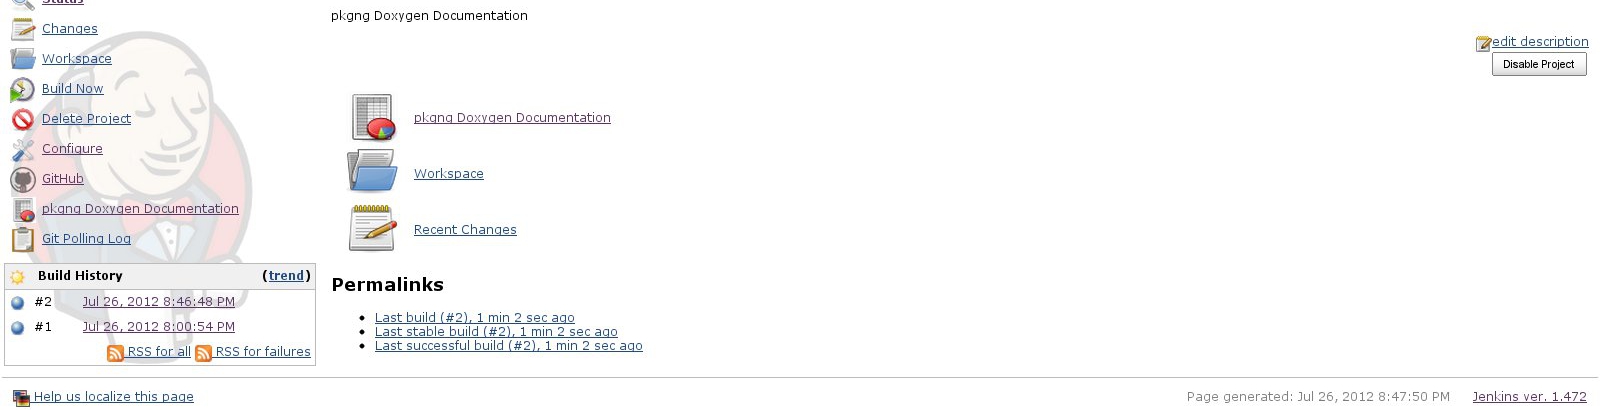
Once the project has been succesfully built you will be able to access the Doxygen documentation of the project as shown in the screenshot below.
And that was it. Now you have a Jenkins project that does continuous building of the project’s documentation.